This step-by-step article explains how to create a setup package in the Visual Studio .NET development environment. This article also explains the different types of setup projects and how to include files or dependencies in your setup.
Types of deployment projects
There are five types of deployment projects: Merge Module Project, Setup Project, Web Setup Project, and Cab Project. The Setup Wizard is provided to step you through the process of creating deployment projects. The following are guidelines for choosing the right type of deployment project for your project.
| Project type | Purpose |
|---|---|
| Merge Module project (.msm) | Package components that might be shared by multiple applications |
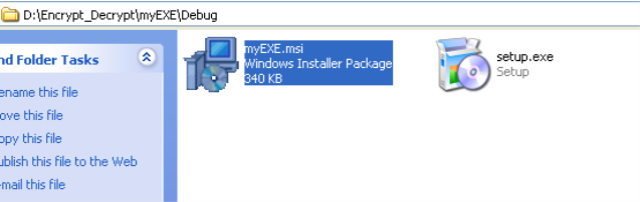
| Setup project (.msi) | Builds an installer for a Windows-based application |
| Web Setup project (.msi) | Builds an installer for a Web application |
| Cab project (.cab) | Creates a cabinet file to download to a legacy Web browser |
| Setup Wizard (.msi) | Helps automate the creation of one of the deployment projects mentioned earlier in this table |
Merge Module projects allow you to package files or components into a single module to facilitate sharing. The resulting .msm files can be included in any other deployment project but cannot be deployed on their own.
The distinction between Setup and Web Setup projects concerns the location in which the installer will be deployed:
- For a Setup project, the installer installs files into a Program Files directory on a target computer.
- For a Web Setup project, the installer installs files into a Virtual Root directory on a Web server.
Cab projects allow you to create a .cab file to package ActiveX components that can be downloaded from a Web server to a Web browser.
How to create a Setup package
- Start a new project by doing one of the following:
- On the File menu, point to New, and then click Project.
-or-
- If you have an project open that you would like to create a setup package for, right-click Solution MyProject (where the name of your project is MyProject) in the Solution Explorer, point to Add, and then click New Project.
- On the File menu, point to New, and then click Project.
- In the New Project dialog box, select Setup and Deployment Projects in the Project Type pane, and then select the type of setup that you want in the Templates pane.
The project is added to the Solution Explorer, and then the File System Editor opens.
- In the Properties dialog box, select the ProductName property, and then type the name of your product.
How to add files to the Setup package
- In the File System Editor, select the Application Folder node.
- Right-click the Application folder, and then on the Action menu, click Add, File. In the Add Files dialog box, browse to select any files that you need to add to your application.
NOTE: If you already have an application project in your solution, you can add the project outputs by selecting Project Outputs instead of File.
- To add an existing merge module to your setup package (this is not possible for a Cab project), right-click the name of your setup package in the Solution Explorer. Click Add, and then click Merge Module. In the Add Modules dialog box, browse to select any merge modules that you need to add to your application.

